

Key Takeaways
An Audi heater matrix can fail through leakage, blockage, or poor coolant circulation. Careful diagnosis matters because several cooling-system and climate-control faults can create similar symptoms.
- Confirm the fault before dismantling the dashboard or center console.
- Match the replacement matrix, seals, and coolant to the exact Audi model and engine.
- Protect the cabin from coolant and label every connector, clip, and panel during removal.
- Refill and bleed the cooling system carefully to prevent air pockets.
- Recheck heat output, leaks, windows, and climate-control operation before calling the repair finished.
Understanding the Audi heater matrix and its failure symptoms
The heater matrix is a small heat exchanger inside the HVAC housing. Hot engine coolant flows through it while the blower moves air across its fins and into the cabin. Because it sits behind trim and ducting, a problem may be developing for some time before it becomes obvious. A sound diagnosis is the first part of any Audi heater matrix replacement.
What the heater matrix does in the cabin heating system
The matrix takes heat from the engine coolant and transfers it to the air entering the passenger compartment. Heater flaps then direct that warmed air toward the windshield, face vents, or footwells. The matrix itself does not create heat, so its performance depends on coolant temperature, flow, and the condition of the surrounding HVAC controls.
Common signs of a leaking or blocked matrix
A leaking matrix may leave dampness in the front footwell, produce a sweet coolant smell, or cause misting on the inside of the windows. A blocked matrix can allow the engine to reach normal temperature while the cabin remains cold or only warms intermittently. These symptoms are suggestive rather than conclusive, particularly on a vehicle with several years of service.
How coolant loss, fogged windows, and sweet smells relate to failure
Coolant escaping inside the heater housing can evaporate into the air stream and settle on the glass as an oily film. That explains why recurring fogging may appear alongside a sweet smell, even when there is no obvious puddle under the vehicle. Check the coolant level and the passenger compartment together; treating only the fogged glass will not address the source.
A useful overview of these symptoms and the access challenge is available in this heater matrix replacement guide, although the exact procedure still depends on the Audi platform.
When poor heat output points to another component
Weak heat does not automatically mean the matrix has failed. A low coolant level, thermostat that stays open, weak water pump, trapped air, restricted hose, failed temperature flap, or climate-control actuator can all reduce cabin heat. If both heater hoses are hot and the vents remain cold, the fault may be inside the air-mixing system rather than in the matrix.
Confirming that the heater matrix needs replacement
Before ordering parts, establish whether coolant is actually reaching the matrix and whether the matrix can pass that coolant. A few basic checks can prevent unnecessary interior dismantling. Work with a cold engine whenever opening the cooling system, and treat any pressure test as a controlled diagnostic procedure rather than a quick visual check.
Checking coolant level, pressure, and visible leaks
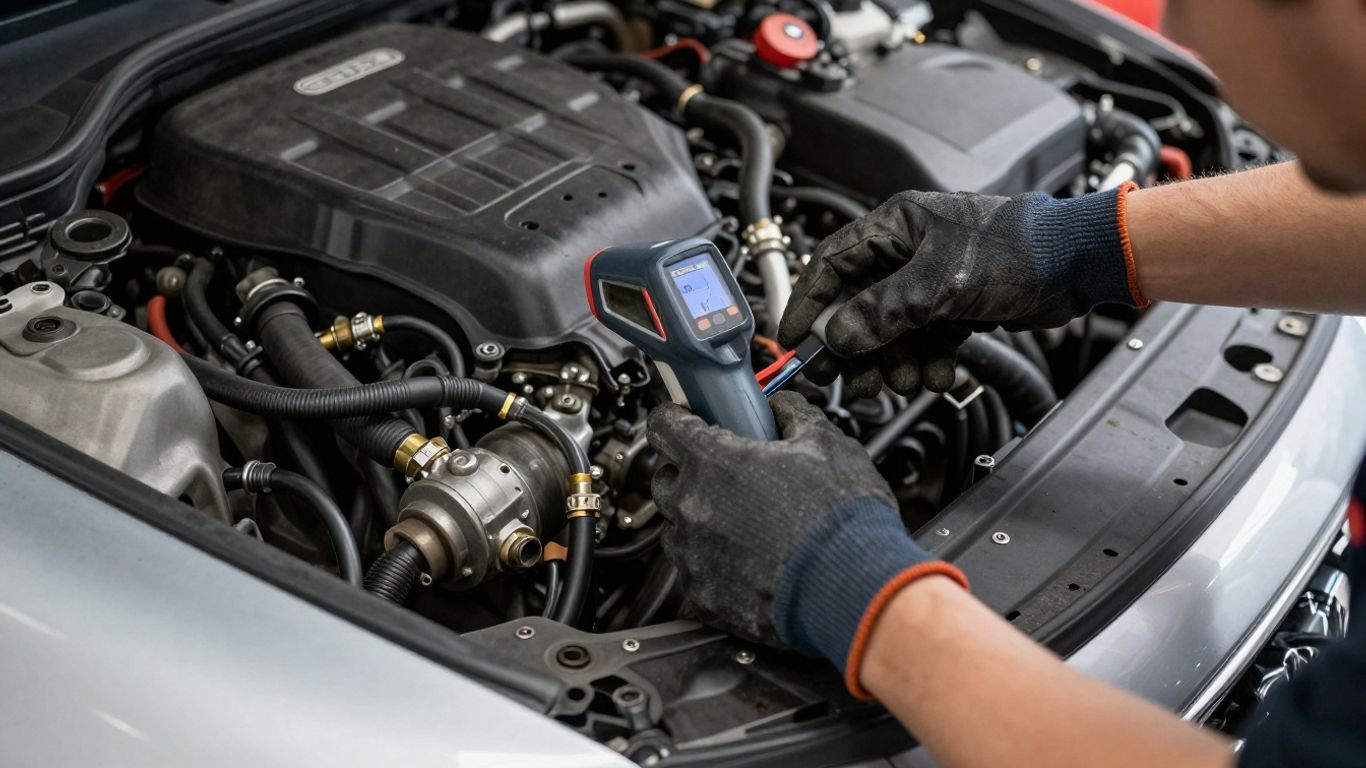
Inspect the expansion tank at the correct cold level and look for staining around hose joints, the bulkhead connections, the radiator, and the water pump area. A cooling-system pressure test can reveal a slow loss, but pressure should be applied only within the vehicle and tester specifications. If the cabin becomes damp or the smell appears inside during the test, the matrix and its seals deserve close attention.
Comparing heater hose temperatures at the bulkhead
With the engine warmed safely, compare the two heater hoses where they pass through the bulkhead. A hot inlet and a noticeably cooler outlet can indicate restricted flow through the matrix, while two similarly hot hoses suggest that coolant is circulating and the problem may be downstream in the HVAC housing. Use an infrared thermometer if available, but interpret readings as a pair rather than relying on one absolute number.
| Hose pattern | Possible direction | Next check |
|---|---|---|
| Both hoses hot | Coolant reaches the matrix | Inspect flaps and air-mixing controls |
| Inlet hot, outlet much cooler | Restricted matrix or trapped air | Bleed system and assess flow |
| Both hoses cool | Low flow or low engine temperature | Check coolant, thermostat, and pump |
| Temperature changes rapidly | Air pocket or unstable circulation | Pressure-test and bleed carefully |
These patterns narrow the search but do not replace model-specific service information. A blocked matrix can sometimes be confirmed by flow testing, while an internal leak may require pressure testing and inspection of the cabin side.
Distinguishing matrix problems from thermostat or water pump faults
A thermostat fault often affects the engine’s warm-up behavior and the temperature shown by the gauge. A water pump or broader circulation problem may affect the radiator circuit as well as cabin heat and can be accompanied by overheating. The matrix becomes a stronger suspect when the engine reaches its normal temperature, coolant circulation is otherwise stable, and there is evidence of coolant inside the cabin or a clear hose-temperature imbalance.
Using diagnostic scans and service information for model-specific clues
A diagnostic scan can identify stored faults for temperature flaps, actuator motors, or coolant-temperature sensors, but it cannot prove that the matrix is leaking. Use the scan alongside wiring diagrams, removal instructions, and the correct bleed procedure for the exact model year. Forum photographs can help with orientation, including this discussion of Audi A3 heater access, but do not treat an online procedure as universal.
Preparing for an Audi heater matrix replacement
Preparation is what separates a controlled repair from a trail of broken clips and unexplained warning lights. Audi interiors vary considerably by generation, body style, engine, and equipment level. Read the removal sequence first, allow more time than the bare replacement itself, and plan where every removed fastener will go.
Choosing the correct replacement part for the Audi model and engine
Confirm the vehicle identification number, production date, left- or right-hand-drive configuration, engine, and climate-control arrangement. Compare the old matrix’s dimensions, pipe positions, mounting points, and connector or seal arrangement with the proposed part. A visually similar core can still have different connections, so do not rely on the model name alone.
Gathering tools, coolant, seals, and protective equipment
Collect the tools before the vehicle is opened. A sensible group of supplies includes:
- Trim tools, socket and Torx sets, extensions, and small screwdrivers.
- New matrix seals or O-rings, clips, and any single-use fasteners specified for the vehicle.
- Correct coolant and clean distilled or deionized water where the coolant instructions require dilution.
- Drain pans, absorbent towels, plastic sheeting, gloves, and eye protection.
This list is deliberately practical: losing a small seal or improvising with an old clip can create a leak after hours of reassembly. Keep the replacement part covered until it is ready to install, and keep coolant containers labeled so nothing is mixed accidentally.
Reviewing dashboard, glove box, and center-console removal requirements
Some Audi models allow access through the glove-box or center-console area, while others require substantial dashboard or HVAC housing removal. Identify airbag modules, hidden fasteners, wiring connectors, ducts, and trim overlaps before pulling on anything. Mark connector locations with removable labels and photograph complicated routing before it disappears behind the next panel.
Protecting the interior from coolant spills and contamination
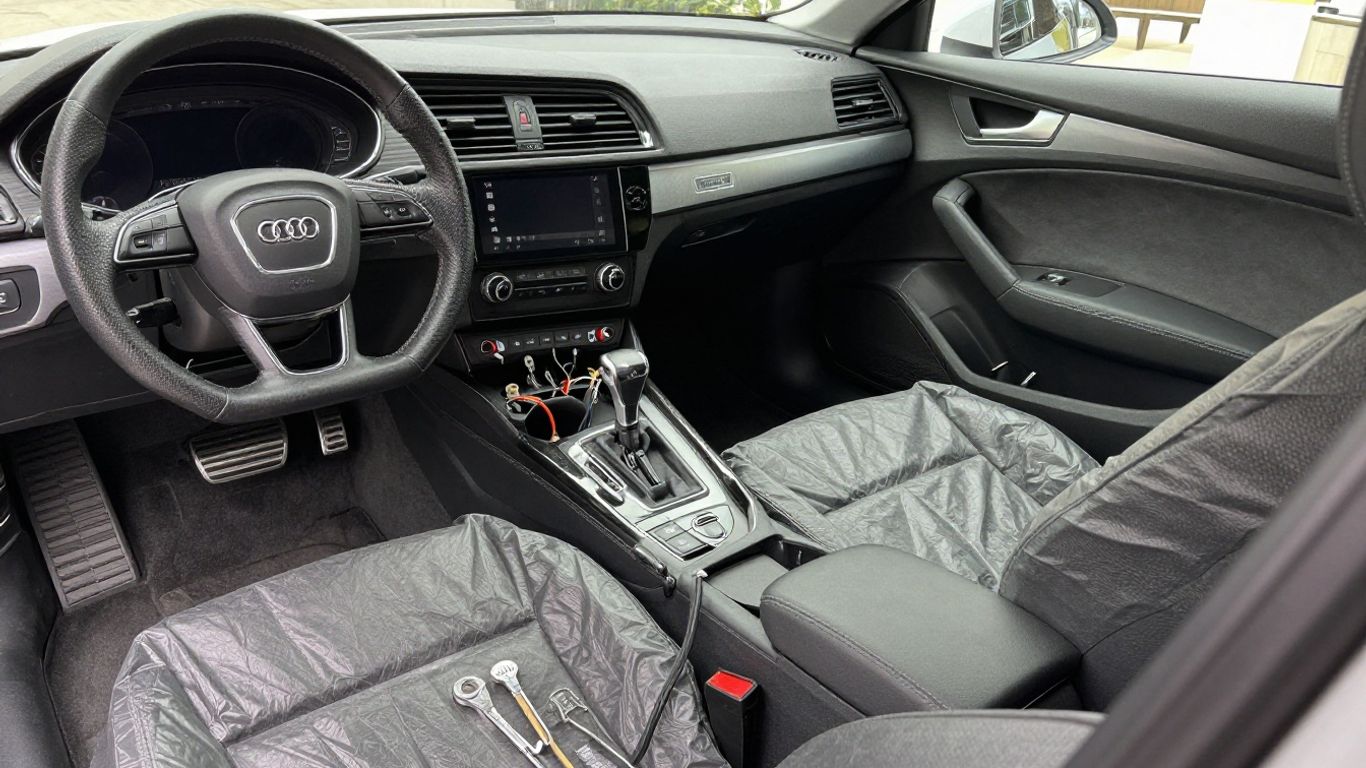
Place absorbent material beneath the heater housing and cover the carpet, console, seats, and exposed electronics. Drain as much coolant as possible from the matrix before disconnecting its pipes, then cap or plug open lines without forcing debris into them. If coolant reaches carpet or insulation, clean it promptly; the smell can persist and may be mistaken for a continuing leak.
Removing the old heater matrix
Removal should proceed slowly because the matrix is usually surrounded by parts that were not designed to be removed every week. Keep fasteners grouped by panel and avoid using force to solve a problem that may actually be a hidden screw or retaining clip. The goal is to expose the matrix without damaging the HVAC housing, wiring, or interior finish.
Disconnecting the battery and preparing the cooling system
Park on a level surface, switch off the ignition, and follow the vehicle’s waiting period before disconnecting the battery. This reduces the risk of electrical faults while connectors are being separated, although the exact procedure for airbag-equipped vehicles must come from the service information. Let the engine cool fully before loosening any coolant connection.
Draining coolant and accessing the heater hoses
Use a clean drain pan and open the system only when cold. Disconnect the heater hoses at the appropriate engine-bay or bulkhead location, directing any remaining coolant away from carpets and electrical components. Do not blow through a disconnected circuit or pressurize it casually; controlled draining and gentle handling are safer for the system and the technician.
Removing trim, ducts, and panels without damaging clips
Work from the service sequence rather than guessing which panel comes first. Release trim with plastic tools, support panels as clips disengage, and store clips with the panel they belong to. A trim piece that resists should be checked for a concealed screw, latch, or overlapping panel before more pressure is applied.
Releasing the matrix housing and extracting the old core
Once the surrounding access parts are removed, disconnect the matrix pipes and release the housing or end cover as specified for the vehicle. Keep the old core level where possible because residual coolant may still be inside. Maneuver it out without bending the pipes or scraping the fins against wiring, ducts, or the housing opening.
Inspecting the housing, seals, and connecting pipes
Examine the old core for blocked passages, corrosion, staining, and damaged fins. Clean the housing carefully and inspect its sealing faces, retaining clips, drain paths, and pipe connections. If a pipe is cracked or a seal groove is damaged, installing a new matrix alone may simply move the leak to the next weak point.
Installing the new heater matrix
Installation reverses the removal process, but it is not merely a matter of putting parts back in the same order. The new core must sit squarely, the seals must remain undisturbed, and every duct and connector must be restored. Take a final visual check before refilling because access becomes difficult once the dashboard and console are back in place.
Comparing the replacement core with the original part
Place the old and new cores side by side and compare their length, width, fin pattern, pipe locations, mounting features, and seal arrangement. Check that protective caps are removed only when the part is clean and ready to fit. If anything differs, stop and verify the part number rather than forcing the replacement into the housing.
Fitting new seals and connecting the coolant pipes correctly
Use the specified new seals and lubricate them only with a compatible medium if the service information permits it. Seat each seal evenly, align the pipes without twisting, and secure the retaining clips fully. A connection that feels almost engaged is not enough; inspect the joint from several angles before moving on.
Reassembling the matrix housing and interior components
Secure the matrix housing without overtightening plastic fasteners, then reinstall ducts, brackets, wiring retainers, and panels in reverse order. Reconnect every electrical plug and check that wiring is clear of moving flaps and sharp edges. Leave final cosmetic tightening until the functional checks have confirmed that the HVAC system operates correctly.
Refilling the cooling system with the correct coolant mixture
Use the coolant type and mixture specified for the vehicle, and avoid combining products merely because their colors look alike. Fill gradually through the prescribed point while monitoring the level. Keep the reservoir at the correct mark rather than filling it to the brim, since the system needs room for normal expansion.
Avoiding air pockets and installation-related leaks
Air can remain in the matrix after a repair and cause intermittent heat, gurgling, or an unstable coolant level. Follow the model-specific bleeding process, use any designated bleed points, and watch the heater hoses as the engine warms. After the first heat cycle, allow the engine to cool and recheck the level and all connections before returning the interior to its final condition.
Testing the repair and handling common complications
A replacement is not complete when the last panel clicks into place. The system needs a controlled warm-up, a leak inspection, and a check of the vents across their temperature and distribution settings. Testing at this stage may expose a loose clip or trapped air while access is still manageable.
Bleeding the cooling system and checking cabin heat output
Start the engine with the correct heater settings for the vehicle and monitor coolant temperature, level, and vent temperature as the system warms. Heat should become consistent rather than arriving in short bursts. Check several fan speeds and air-distribution modes, because a warm matrix cannot compensate for a flap that is stuck or an actuator that is not responding.
For a visual overview of the general access and replacement process, this heater core repair reference can be useful, but its vehicle and procedure should not be assumed to match a particular Audi.
Inspecting for coolant leaks under pressure and during a road test
Pressure-test the cooled system if the equipment and service information support that check, then inspect the matrix connections, bulkhead area, hoses, and expansion tank. During a short road test, watch the temperature gauge and listen for sloshing behind the dashboard. Recheck for dampness after the vehicle has cooled, since a small leak may appear only as the seals and pipes move through heat cycles.
Calibrating heater flaps and climate-control actuators when required
Some climate systems require a basic setting or calibration after battery disconnection or actuator work. If air direction, temperature blending, or recirculation behaves incorrectly, scan the system and follow the specified calibration routine. Do not assume a new matrix will correct a flap fault that was present before the repair.
Troubleshooting continued fogging, weak heat, or coolant loss
Continued fogging or a sweet smell suggests that coolant may still be escaping, possibly from a seal, pipe, or housing disturbed during installation. Weak heat with two hot heater hoses points more toward air-mixing or airflow control, while weak heat with an uneven hose temperature points back toward circulation. A persistent coolant drop should be treated as an active fault, not as normal settling after the refill.
The same habit used in a proactive maintenance guide—checking a problem before it becomes expensive—applies here, even though the subject matter is different. Record what was checked and what changed after each test instead of replacing parts by guesswork.
Knowing when professional repair is safer or more cost-effective
Professional help is sensible when the dashboard contains complex airbag systems, the access procedure requires extensive disassembly, or the cooling system cannot be bled confidently. It is also worth considering when a workshop can pressure-test, scan, calibrate, and warranty the work for less than the cost of correcting a damaged interior or repeated leak. Good preparation still helps: bring the vehicle details, symptoms, test results, and replacement-part information.
Planning the job carefully is much like comparing roof repair or replacement, choosing a permanent residence guide, selecting free browser games, or organizing a South Africa safari: the right decision depends on the actual requirements, not a generic headline. Those unrelated resources are not repair instructions, but the principle of checking scope before committing remains useful.
Conclusion
An Audi heater matrix replacement is manageable when diagnosis, access, part selection, sealing, coolant handling, and final testing are treated as one connected job. Confirm the fault first, protect the cabin, follow the exact vehicle procedure, and do not return the car to service until heat output and coolant integrity have both been verified.
Frequently Asked Questions
How long does an Audi heater matrix replacement take?
Time varies widely by model and access method. A vehicle designed for limited console access may take several hours, while one requiring major dashboard removal can take substantially longer.
Can a blocked heater matrix be flushed instead of replaced?
A careful flush may restore flow in some cases, but it cannot repair a leaking core, damaged seal surface, or corroded pipe. Replacement is generally the durable option when the matrix has failed structurally.
Why is the cabin still cold after replacing the matrix?
Common causes include trapped air, low coolant, incorrect hose connection, a thermostat or water-pump issue, or a failed temperature flap. Compare hose temperatures and scan the climate system before removing parts again.
Is coolant inside the passenger footwell always caused by the matrix?
No. A leaking matrix or seal is one possibility, but blocked drains, hose connections, and other water leaks can also wet the footwell. The liquid’s smell, color, and location can help separate coolant from plain water.
Should the battery be disconnected before interior removal?
For many vehicles, yes, particularly when working near airbag modules or numerous electrical connectors. Follow the vehicle’s battery-disconnection and waiting requirements rather than relying on a universal time period.
What coolant should be used after the repair?
Use the specification listed for the vehicle and follow its required mixture and dilution instructions. Avoid mixing unknown coolant types, even when their colors appear similar.
When should a heater matrix repair be left to a professional?
Choose professional repair when access involves complex dashboard or airbag work, when the cooling system cannot be bled reliably, or when diagnostic scanning and actuator calibration are needed. The decision is especially sensible if a mistake could damage expensive interior or electrical components.