

Key Takeaways
A proper Audi coolant flush is more than draining a reservoir and pouring in fresh fluid. The right coolant, careful air bleeding, and a leak check all matter.
- Follow the service guidance for your specific Audi model and engine.
- Never identify coolant by color alone; verify the specification on the label.
- Open the cooling system only when the engine is completely cool.
- Treat unexplained coolant loss or overheating as a diagnostic issue first.
- Recheck the level and inspect for leaks after the first complete heat cycle.
What an Audi coolant flush does and when it is needed
An Audi coolant flush removes old coolant, suspended debris, and diluted protective additives from the cooling circuit before fresh coolant is installed. The job can help maintain stable operating temperature, but it cannot repair a leaking radiator, failed thermostat, or damaged water pump. Timing depends on the model, coolant specification, previous service history, and the conditions in which the car is driven.
How coolant protects the engine, turbocharger, and cooling system
Coolant carries heat away from the engine and turbocharger, then releases that heat through the radiator. Its additives also help protect metal passages, seals, hoses, and the heater core from corrosion and freezing. A healthy mixture provides both temperature control and a margin of protection during cold starts, long climbs, and heavy traffic.
The cooling system works as a closed circuit, so a falling level is not normal simply because the car is older. If fluid is disappearing, identify the cause rather than treating repeated top-ups as a substitute for repair. Stable coolant protection matters because overheating can damage components well beyond the cooling system itself.
Signs that the coolant is degraded or contaminated
Old coolant may look cloudy, rusty, oily, or unusually dark, although appearance alone cannot confirm its condition. A sweet smell near the engine bay, residue around a hose connection, or a low expansion-tank level can point to a leak. Sludge, floating particles, or an oily film deserves attention before a routine flush is attempted.
A temperature warning, inconsistent cabin heat, or a gauge that rises during slow traffic can also signal a cooling-system problem. These symptoms should not automatically be blamed on expired coolant. A technician may need to inspect circulation, pressure, sensors, and the radiator fan first.
Audi maintenance intervals and factors that shorten them
There is no single interval that fits every Audi engine and model year. Use the owner’s manual and service schedule as the starting point, then consider whether the vehicle sees severe heat, freezing weather, frequent short trips, towing, dusty roads, or repeated high-load driving. Previous use of the wrong mixture can also shorten the useful life of the coolant.
Service records are valuable when the fluid type or last replacement is uncertain. A shop may test freeze and boil protection, inspect the fluid, and compare the result with the model’s requirements. The coolant flush service specials page can be useful when comparing a scheduled professional service with other maintenance costs, but the vehicle’s actual condition should guide the decision.
When a coolant drain and refill is enough
A drain and refill may be appropriate when the coolant is simply due for replacement, the fluid is clean, and the system has no evidence of contamination or major deposits. It removes much of the old mixture but may leave some coolant in the engine, heater core, and hoses. That distinction matters when changing specifications or correcting a severely diluted mixture.
A more thorough flush is better suited to contaminated fluid, an unknown coolant history, or a repair that introduced debris into the system. The procedure should still follow the service instructions for the exact engine. If the system is leaking, repair and pressure testing come before deciding how extensive the flush should be.
How to identify the correct Audi coolant
Choosing coolant by vehicle badge alone is risky because specifications can vary by model year, engine, and market. Check the owner’s information, the service documentation, and the coolant manufacturer’s compatibility statement. The goal is a formulation that meets the required specification and works with the materials in that particular cooling system.
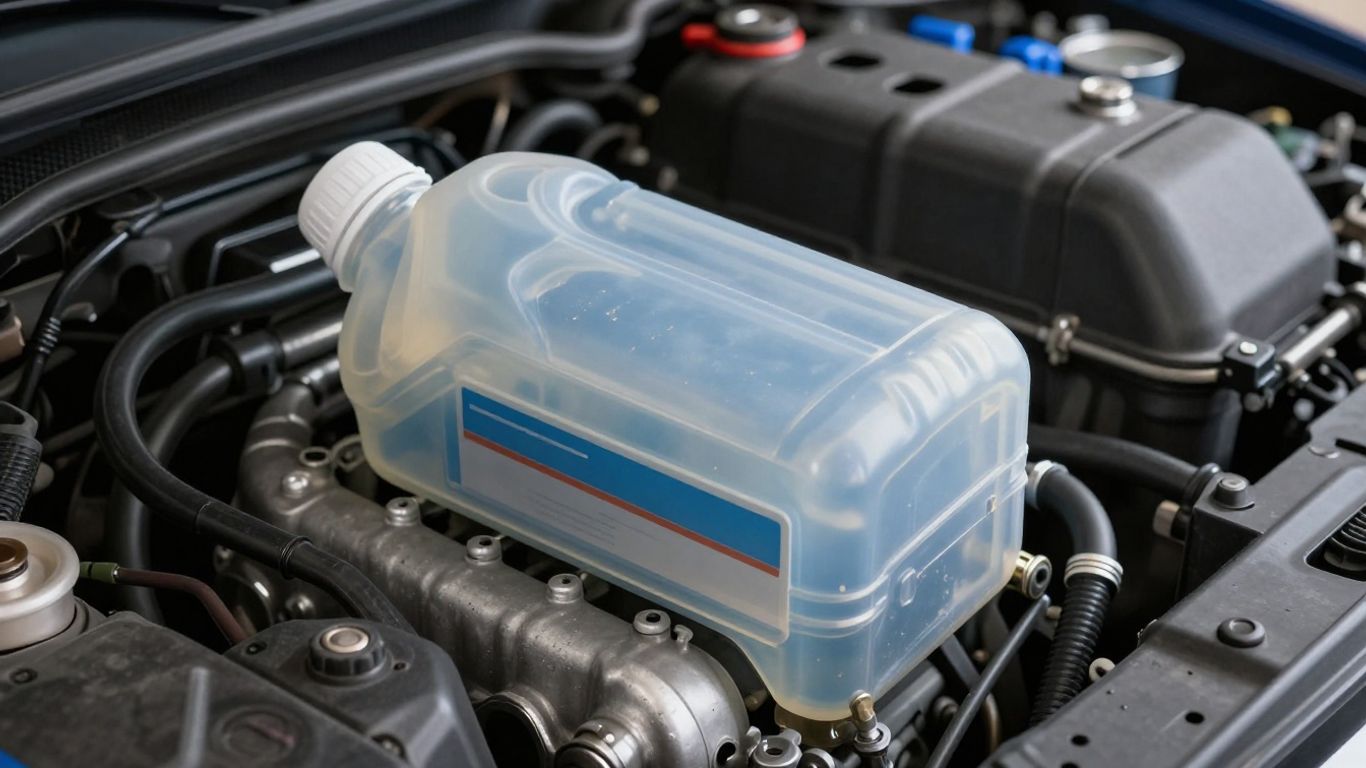
Audi coolant specifications and compatible formulations
Read the bottle for the required approval or specification rather than relying on a generic phrase such as “all makes.” Some products are sold as ready-to-use mixtures, while others are concentrates that must be diluted with distilled or deionized water. If the label is unclear, pause and confirm the correct product before opening the system.
Keep the product information with the service record. That small detail makes future top-ups safer and prevents a later technician from guessing. It also helps distinguish a compatible formulation from one that merely has a similar color.
Why coolant color alone is not a reliable identifier
Coolant dyes are used for identification and appearance, but color is not a universal technical standard. Two fluids with similar coloring may use different additive packages, while compatible products may appear different from one another. Color can support a visual inspection, but it should never be the deciding test.
Look instead for the stated specification, chemistry, concentration, and compatibility information. If the fluid in the car cannot be identified, draining and replacing it with a confirmed formulation is safer than adding an unknown top-up.
Mixing coolant types and the risk of chemical incompatibility
Mixing incompatible coolants can reduce corrosion protection, create deposits, or produce an unstable mixture. The immediate result may not be dramatic, which is why the mistake can go unnoticed until passages become restricted or seals are affected. When the existing fluid is unknown, avoid adding a different product merely because the level is low.
A compatible premix may be used for a small emergency top-up only when its specification is confirmed. Otherwise, use the correct service procedure to drain, flush, and refill the system. Do not assume that a universal label eliminates the need to check the vehicle requirements.
How much coolant your Audi model typically requires
Capacity varies considerably with engine size, cooling-system layout, radiator design, and whether the heater circuit is fully drained. Published capacity is a useful planning figure, not a promise that every flush will accept exactly that amount. Keep enough approved coolant and distilled water available to complete the service without improvising.
The table below shows the information worth confirming before buying supplies rather than assigning one capacity to every model.
| Detail to confirm | Why it matters | Where to verify |
|---|---|---|
| Model year and engine | Determines system capacity and specification | Owner’s manual |
| Coolant type | Prevents incompatible mixing | Service documentation |
| Concentrate or premix | Determines whether dilution is needed | Product label |
| Total system capacity | Helps estimate the amount to purchase | Repair information |
Use the published figure as a starting point, then fill gradually while monitoring the level and bleeding air. Buying a little extra is sensible, but pouring in excess fluid without allowing for air removal is not.
How to prepare for an Audi coolant flush
Preparation reduces spills, prevents burns, and makes it easier to recognize a problem before fresh coolant hides the evidence. Park on a level surface, allow the engine to cool fully, and gather the correct replacement parts before draining anything. The service area should be secure, well ventilated, and away from children and animals.
Tools, supplies, and replacement parts to gather
At minimum, plan for a drain pan with enough capacity, gloves, eye protection, hand tools, distilled water when required, approved coolant, shop towels, and a funnel designed for clean filling. Depending on the model, new sealing washers, drain plugs, hose clamps, or a replacement expansion-tank cap may be appropriate. Use only parts that match the vehicle and the repair instructions.
A compact preparation list helps prevent a half-finished job:
- Confirm the coolant specification and required mixing ratio.
- Have a clean, labeled container ready for the drained fluid.
- Inspect replacement seals, caps, clamps, and hoses before draining.
- Keep a pressure tester or arrange access to one if a leak is suspected.
After gathering the supplies, compare the expected capacity with what is on hand. Do not begin if the only available coolant is an unverified substitute.
Checking the engine temperature before opening the system
Never remove a hot expansion-tank cap. Pressurized coolant can escape violently and cause severe burns even when the engine appears to be idling normally. Let the vehicle sit until the hoses and tank are cool, and use a temperature reading only as an additional check rather than touching hot components.
Once cool, loosen the cap slowly while standing clear of the opening. If pressure remains or the fluid begins to rise, retighten the cap and wait longer. A cool system is a basic safety requirement, not a convenience.
Protecting painted surfaces and disposing of old coolant
Coolant can damage finishes and creates a serious poisoning risk for pets and wildlife. Cover nearby painted surfaces, place absorbent material beneath the drain area, and keep the pan stable. Clean even a small spill immediately and never leave an open container unattended.
Transfer used coolant to a sealed, labeled container and take it to an approved collection point. Never pour it onto soil, into a drain, or into household waste. The toxicity of antifreeze is one reason a professional service may be preferable when safe handling and disposal are difficult.
When a cooling-system pressure test should come first
A pressure test should precede the flush when the coolant level keeps dropping, there is visible residue, or the system has recently overheated. It can help reveal external leaks that may be difficult to see when the engine is hot. Testing first prevents fresh coolant from being immediately lost through a damaged hose, radiator, tank, or seal.
Do not use pressure to compensate for a missing cap or an incorrectly fitted adapter. Follow the tester’s instructions and the vehicle’s specified test limits. If pressure falls without an obvious external leak, further diagnosis is warranted.
How to perform an Audi coolant flush safely
The exact drain points and bleeding method vary by model, so model-specific repair instructions take priority over any general guide. The broad sequence is to drain safely, flush with an appropriate medium, refill slowly, and remove trapped air. Work patiently; rushing the final steps is a common cause of an apparently completed service that later shows a low level or overheating.
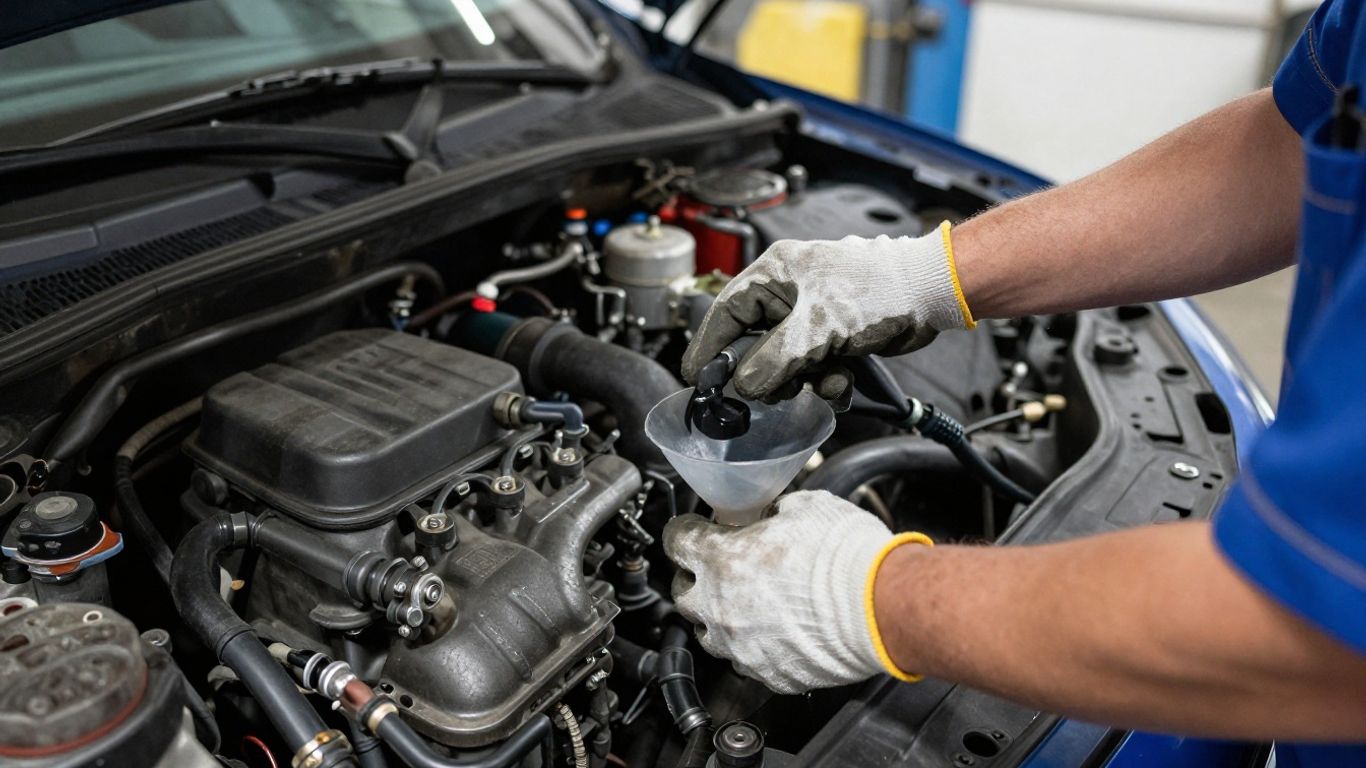
Draining the old coolant from the radiator and reservoir
With the engine cool, remove the reservoir cap carefully and position the drain pan before opening the radiator drain or removing the specified lower hose. Some systems retain coolant in several circuits, so follow the documented drain procedure rather than assuming the reservoir is the whole system. Avoid pulling hoses sideways or forcing brittle plastic fittings.
Allow the fluid to drain completely, then inspect its color, odor, and sediment. Keep the old coolant separate from other workshop fluids so it can be identified and disposed of correctly. Refit the drain plug or hose using the correct seal and clamp arrangement before proceeding.
Flushing contaminants without damaging cooling-system components
If a flush is needed, use the method and fluid recommended for the system. Distilled water is commonly used where the procedure calls for it, but aggressive household cleaners, tap water, and high-pressure air can damage components or leave unwanted residue. A cooling system is not improved by forcing fluid through it at uncontrolled pressure.
Repeat the drain-and-fill cycle only as necessary to remove contamination, allowing the system to cool whenever the procedure requires. If oil, heavy sludge, or persistent particles remain, stop and diagnose the source rather than continuing indefinitely. The coolant flush video offers a visual reference for one Audi A4 allroad procedure, but it should not replace instructions for another model.
Refilling with the correct coolant-to-distilled-water ratio
Use the ratio specified for the coolant and vehicle. A common mixture is 50/50, but the bottle and service information control, particularly when using a concentrate or operating in unusually cold conditions. Pour slowly through a clean funnel and pause so air can move out of the filling passages.
A refractometer or suitable tester can verify the final protection once the mixture has circulated. Do not judge concentration from the color or from the amount poured into the reservoir. Keep the mixture consistent throughout the system.
Bleeding trapped air from the Audi cooling system
Air pockets can prevent circulation, reduce cabin heat, and make the level fall after the first drive. Use the specified bleed screw, filling funnel, heater setting, and engine-speed procedure for the model. Do not open bleed points near moving belts or fans, and keep hands and clothing clear while the engine runs.
Watch for a steady flow without large bubbles, but stop if the temperature rises unexpectedly. After the system cools, recheck the level and repeat the prescribed cycle if needed. A quiet, stable temperature reading is more useful than assuming that a full reservoir means all air has been removed.
How to handle common Audi cooling-system problems
A coolant flush can expose a weak hose, loosened connection, or previously hidden leak, but it does not cure those faults. Troubleshooting should follow the symptom and the evidence, not the assumption that every temperature problem needs more coolant. When a warning appears, stop driving if safe and allow the system to cool before inspecting it.
Diagnosing leaks around hoses, radiators, and expansion tanks
Look for dampness, crusty residue, staining, or a sweet odor around hose ends, radiator seams, the expansion tank, and the cap. Some leaks appear only when the system is hot and pressurized, so a cold visual check may not be enough. A pressure test can make a small external leak easier to locate.
Avoid tightening plastic fittings beyond their design or using sealants as a permanent repair. Replace damaged components with the correct parts, then refill and bleed the system again. Repeatedly adding coolant without finding the leak can leave the mixture wrong and the engine unprotected.
Recognizing a failing thermostat or water pump
A thermostat problem may produce slow warm-up, unstable temperature, or overheating when flow is restricted. A water-pump problem can show as poor circulation, rising temperature, unusual noise, or a leak, although symptoms vary by engine. Diagnosis may require scan data, temperature comparisons, visual inspection, and a check of belt or drive components.
Do not condemn either part solely because the coolant looks old. Replacing a thermostat or pump without confirming the fault can add cost while leaving the real problem unresolved. If overheating is severe, recovery by tow is safer than continuing to drive.
Investigating overheating after a coolant service
Overheating after a flush often points to trapped air, an incomplete refill, a loose connection, a fan issue, or a pre-existing fault. Turn off the engine when the warning appears and do not open the cap while hot. Once cool, inspect the level and evidence of leakage, then have the bleeding procedure and system pressure checked.
A temperature gauge that returns to normal does not prove the problem is gone. Record when the overheating occurred, whether cabin heat changed, and whether the level dropped. Those details can shorten diagnosis and prevent another unnecessary flush.
Checking for combustion gases and internal coolant leaks
If coolant disappears with no visible external leak, inspect for an internal fault. Persistent bubbles, exhaust vapor after warm-up, oily coolant, milky engine oil, or repeated pressure buildup can justify a combustion-gas test or further cooling-system diagnosis. These signs are not conclusive individually, but together they should not be ignored.
An internal leak requires a repair plan, not repeated draining and refilling. Continuing to drive an overheating vehicle can turn a manageable fault into major engine damage. Ask for test results and a clear explanation of what has been ruled in or out.
Audi coolant flush cost and service options
The price of an Audi coolant flush depends on labor time, coolant quantity, access to drain points, replacement seals, and whether diagnosis or repairs are added. A straightforward drain and refill costs less than a contaminated-system flush followed by hose, thermostat, or water-pump work. Local labor rates also create meaningful differences.
Typical labor and parts that affect the final price
Ask whether the estimate includes coolant, distilled water, disposal, pressure testing, bleeding, and a post-service inspection. Some shops quote only the fluid replacement and charge separately for diagnosis or replacement hardware. A written estimate makes the comparison more useful than a low headline price.
The vehicle’s engine layout can affect labor because access to the expansion tank, radiator drain, or bleed points is not identical across the range. If the system has already overheated, budget for testing before approving a flush alone.
Comparing dealership, independent shop, and DIY service
A dealership may have model-specific service information and established procedures, while an independent shop may offer a different labor rate and a more flexible approach. DIY service can reduce labor cost, but it requires safe lifting, correct fluid identification, spill control, disposal, and confidence in the bleeding process. The cheapest option is not useful if the system is left with air or the wrong mixture.
Choose based on the job’s complexity and your equipment. A simple service on a familiar vehicle may be manageable at home; an overheating complaint or suspected internal leak deserves professional diagnosis. The right question is whether the work can be completed safely and verified afterward.
Questions to ask before approving a coolant flush
A clear conversation prevents misunderstandings about what the service includes. Ask the shop:
- Which coolant specification and concentration will be installed?
- Is the system being drained, flushed, or only topped up?
- Are pressure testing, air bleeding, disposal, and leak inspection included?
- What happens if the inspection finds a failed hose, thermostat, pump, or cap?
The answers should identify both the planned work and the limits of the estimate. If the shop cannot explain the coolant choice or the bleeding method, request clarification before authorizing the repair.
How service records and warranty coverage may matter
Keep the invoice showing the date, mileage, coolant specification, concentration, and any replaced parts. Those records help establish a maintenance history and may support a warranty discussion if a related issue appears later. Warranty coverage varies, so read the applicable terms rather than assuming every cooling-system repair is included.
A documented service also reduces the chance of incompatible top-ups at the next visit. Store photos or product details when you perform the work yourself. Clear records are especially useful when the vehicle changes ownership.
How to verify the flush and maintain the cooling system
Verification continues after the drain pan is put away. The first heat cycle can move trapped air into the expansion tank and reveal a small leak that was not visible while the engine was cold. A short inspection after the service is part of the job, not an optional extra.
Checking the coolant level after the first heat cycle
Let the engine reach operating temperature according to the service procedure, then allow it to cool completely before checking the level. The coolant should sit between the marked limits when cold. If it falls noticeably, inspect for leaks and repeat the correct bleeding process rather than simply filling it over and over.
Never compare a hot level with a cold marking without consulting the instructions. Expansion changes the apparent level, and opening the tank while pressurized is unsafe. Record the level after the first cool-down so later changes are easier to spot.
Inspecting for leaks and monitoring the temperature gauge
Inspect the drain point, hose connections, radiator edges, expansion tank, and cap after the first drive. Look for wetness, fresh staining, or an odor inside the cabin that could suggest a heater-core issue. During driving, watch for a temperature warning, unusual gauge movement, reduced cabin heat, or cooling fans that behave unexpectedly.
If any warning appears, stop when safe and let the system cool. Do not continue under the assumption that a fresh flush has solved every possible fault. Early attention usually means less contamination, less fluid loss, and less risk of secondary damage.
Rechecking coolant protection before extreme weather
Test the mixture before a severe winter or a period of sustained summer heat, especially if the system has been topped up several times. A tester can reveal dilution that is not visible by eye. Correct the concentration with the approved coolant and water rather than adding random antifreeze.
Seasonal checks are also a good time to inspect the cap, hoses, and reservoir. Rubber and plastic parts age independently of the coolant, so a recent flush does not make them new. Replace questionable components before a demanding trip.
Scheduling the next inspection based on driving conditions
Use the manufacturer’s schedule as the baseline, then shorten inspection intervals when the car faces heavy traffic, frequent short journeys, high temperatures, freezing conditions, towing, or repeated spirited driving. An inspection does not always mean another flush; it may simply confirm level, concentration, and system condition.
Set a reminder using the mileage and date from the service record. If the coolant level changes between checks, move the inspection forward. Maintenance is most effective when it responds to evidence rather than waiting for an overheating warning.
Conclusion
A careful Audi coolant flush starts with the correct specification and ends with a verified, air-free system. Work only on a cool engine, diagnose leaks before refilling, use the specified mixture, and monitor the vehicle through its first heat cycles. Those habits make the service safer and help catch cooling-system faults before they become expensive repairs.
Frequently Asked Questions
How often should coolant be flushed?
The interval depends on the vehicle, coolant specification, service schedule, and driving conditions. Use the owner’s manual as the baseline and inspect sooner when the fluid is contaminated, the history is unknown, or the vehicle experiences severe use.
Can I flush coolant with tap water?
Tap water can contain minerals that contribute to deposits, so use distilled or deionized water when the procedure calls for dilution or flushing. Follow the coolant label and vehicle service information for the required mixture.
Is a coolant drain and refill the same as a flush?
No. A drain and refill replaces the fluid that can be removed through the normal drain points, while a flush uses additional steps to remove more of the old mixture or contamination. The appropriate method depends on the system’s condition.
Can coolant color tell me which type to buy?
No. Color is only a dye and is not a reliable technical identifier. Confirm the required specification and compatibility on the product label or in the vehicle’s service information.
Why does the coolant level drop after a flush?
A small change can occur as trapped air leaves the system during the first heat cycles. A continuing drop may indicate remaining air, a loose connection, an external leak, or an internal cooling-system problem and should be investigated.
What should I do if the car overheats after a coolant service?
Stop safely, switch off the engine, and wait for the system to cool before inspecting it. Do not open the cap while hot. Have the system checked for air, leaks, circulation problems, fan faults, and other causes before driving further.
Is a coolant flush safe to do at home?
It can be suitable for an experienced DIY owner with the correct information, equipment, spill controls, and disposal plan. If the engine has overheated, the fluid is contaminated, or the bleeding procedure is unfamiliar, professional service is the safer choice.